My Birth Wishes With Baby #3! + 5 Steps to Make Yours 🌸 Homebirth to Hospital Birth to Cesarean Preferences
Hey guys, so long time no talk! I haven't blogged in a looooong time, but in case you don't watch my Youtube videos:
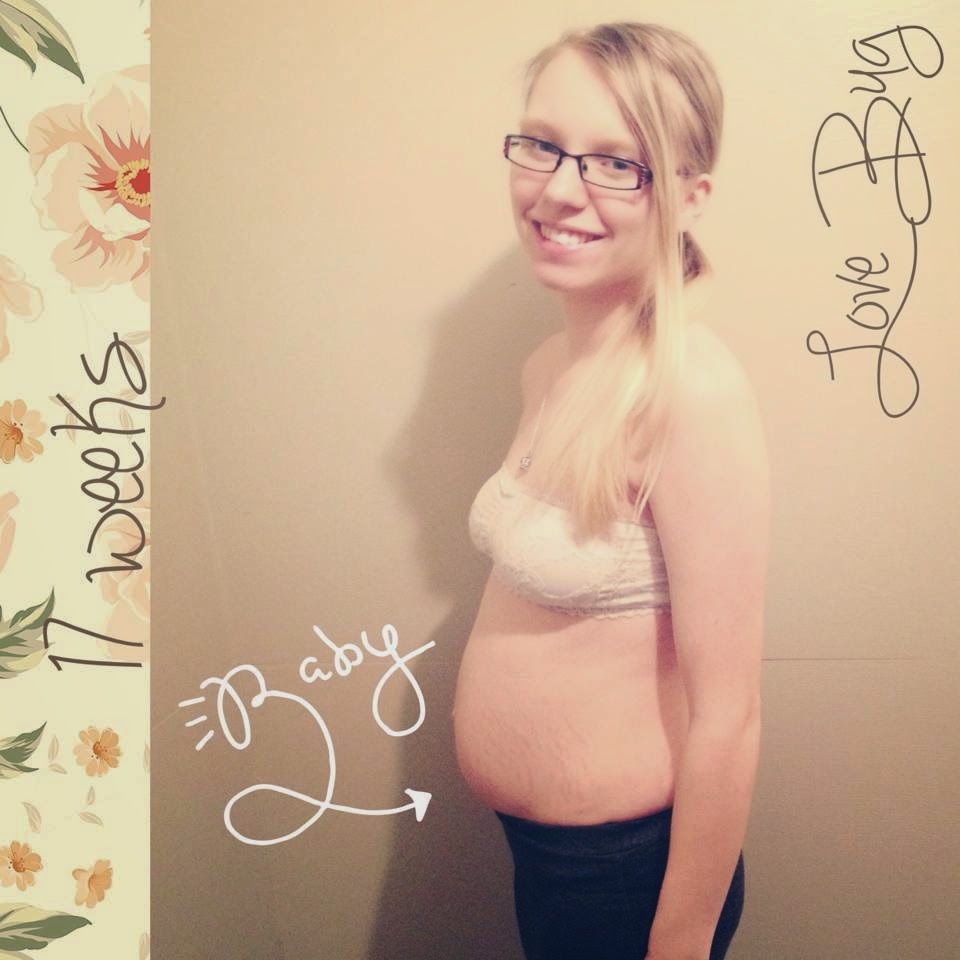
- I'm pregnant with Baby #3, Baby Bear!
- We know the sex of our baby!!
- She has a name!!
And of course a ton more has gone on, but go check out my channel for all of that.
. . .
Right now, I am working on my BIRTH WISHES (Birth Plan) for our little girl, and I am so excited to share some resources/templates with you guys. I wanted to leave this all in a blog for you to be able to access, save, and be able to copy for yourselves.
(Check out my Birth Wishes with my last baby in 2015 in the blog post here: https://thepregnantdoula.blogspot.ca/2015/06/28-weeks-my-birth-plan.html )
(Check out my Birth Wishes with my last baby in 2015 in the blog post here: https://thepregnantdoula.blogspot.ca/2015/06/28-weeks-my-birth-plan.html )
If you want to know the benefits of a Birth Wishes and why I don't call them a birth "plan", check out the first video I put out in my Prep to Birth Baby #3 playlist:
In that video I talk about a VISUAL BIRTH PLAN, I LOVE this idea and so did my midwife! So, here are some free links to some libraries of visual icons to place on your birth plan:
https://combatbootmama.com/2014/06/25/creating-your-visual-birth-plan/
https://www.mamanatural.com/visual-birth-plan/
This is where I started. Then, being the perfectionist I am, I had to make all of my own instead :P
So, this is what my birth plan looks like:
https://combatbootmama.com/2014/06/25/creating-your-visual-birth-plan/
https://www.mamanatural.com/visual-birth-plan/
This is where I started. Then, being the perfectionist I am, I had to make all of my own instead :P
So, this is what my birth plan looks like:

Here is how to make your own:
STEP ONE: Template
I made the template myself, you can "steal" it by right clicking and choosing Save Image on these blank ones:
STEP ONE: Template
I made the template myself, you can "steal" it by right clicking and choosing Save Image on these blank ones:
(US version)
(Canadian/UK version)


If there is something you don't see but you would like to include on your birth plan here, I just find all of mine by going to https://images.google.ca/ , typing in "_____ icon", going into the Tools and selecting Color -> Transparent. That way your icon won't have a background, which is important when changing the colour.


STEP THREE: Preferences
Now, you have your template and your icons. Hopefully you've done some research on the options and your preferences for your birth, and know the things most important to you.
(Here are some links to some easy select-your-preference birth plan templates to get to know your options/things that are important for you. Be sure to research your local hospital/care provider's standard practices so you don't put redundant info on your plan or leave out something important:
Really try to limit your options all to this one page, and make it simple/easy and fun to read.
STEP FOUR: Text
Now add some text, choose the right font and colour, and make it the size that will be easily read.
- Do the same "Duplicate text", move over to the new location and change to whatever words coincide with the icon it is beside.
- I tried to limit words to the bare minimum - quick to read, just add a no symbol/section and "NO ____" beside things you don't want, and YES beside choices like Vitamin K, etc that require your consent. Everything else can just be "Labour on hands and knees", etc for ease of reading.
Now that you've done all that, your Birth Wishes looks almost complete!
STEP FIVE: Information
Add your name, health care identification, any health risks like allergies, gestational diabetes status, etc, your partner's info/relevant health conditions (mine includes that my husband is a type 1 diabetic, good for in case he passes out from low blood sugar while I'm birthing), and a cute little "Thanks for reading" message at the top - now you're done!
To use these templates, I personally like to edit in picmonkey.com so I have full control over the font, size, colour, etc of everything.
STEP TWO: ICONS
STEP TWO: ICONS
Now, you need some icons. Like I said, you can use the links above to get some premade ones, but I just used these (again, copy and paste as you would like):


If there is something you don't see but you would like to include on your birth plan here, I just find all of mine by going to https://images.google.ca/ , typing in "_____ icon", going into the Tools and selecting Color -> Transparent. That way your icon won't have a background, which is important when changing the colour.
To add the images onto your template on PicMonkey, go to the butterfly (Overlays), select "Add your own", and choose one of the icons you have saved.
To change the colour, simply use the slider until you get it to the colour you would like. (Hint: If you like the gold colour of my icons, the colour code is d8b85d, you just need to copy that number/letters, click the box above the colour options and paste it there, then press enter).
To change the colour, simply use the slider until you get it to the colour you would like. (Hint: If you like the gold colour of my icons, the colour code is d8b85d, you just need to copy that number/letters, click the box above the colour options and paste it there, then press enter).


Add all of your icons and arrange them in each section, try to make them the same size.
(If you are a little more advanced, try right clicking on an icon that is the size & colour you like, select "Duplicate overlay", move the new copy over, then right click it and select "Replace from my computer..." This makes the new icon the same size and colour, making them match better!)
It make take some flinicking and resizing to get it perfect - hey, you can just write our your birth plan with bullet points if you want a simple & quick birth wishes, this is my "I like to spend way too much time on making it look pretty" method :P
STEP THREE: Preferences
Now, you have your template and your icons. Hopefully you've done some research on the options and your preferences for your birth, and know the things most important to you.
(Here are some links to some easy select-your-preference birth plan templates to get to know your options/things that are important for you. Be sure to research your local hospital/care provider's standard practices so you don't put redundant info on your plan or leave out something important:
Really try to limit your options all to this one page, and make it simple/easy and fun to read.
STEP FOUR: Text
Now add some text, choose the right font and colour, and make it the size that will be easily read.
- Do the same "Duplicate text", move over to the new location and change to whatever words coincide with the icon it is beside.
- I tried to limit words to the bare minimum - quick to read, just add a no symbol/section and "NO ____" beside things you don't want, and YES beside choices like Vitamin K, etc that require your consent. Everything else can just be "Labour on hands and knees", etc for ease of reading.
Now that you've done all that, your Birth Wishes looks almost complete!
STEP FIVE: Information
Add your name, health care identification, any health risks like allergies, gestational diabetes status, etc, your partner's info/relevant health conditions (mine includes that my husband is a type 1 diabetic, good for in case he passes out from low blood sugar while I'm birthing), and a cute little "Thanks for reading" message at the top - now you're done!
. . .
Hopefully that was helpful and easy for you guys to follow. Really, all you have to do is list some of your preferences and start a dialogue with your care providers and support team (partner, mom, doula, friend, etc). It doesn't need to be fancy, I just wanted to make a cute one this time.
If you want to know more about why I chose the things I did, check out the full video explaining my birth preferences here:
Thanks so much for reading, happy Birth Wishes creating and follow along my Youtube Channel, I update there a lot more often with pregnancy updates, family vlogs, updates on my kids, mental health/doula stuff.
I will also be coming out with videos like Packing for Labour/Birth, My Hospital Bag, and How to Create a Comfortable Birth Space very soon as we prep for our little girl - and of course you'll want to see her in videos starting in October (I'm almost 32 weeks as I post this, so she will be here in the next 8-10 weeks)!!
So, love & happy gestating, see you in the next post/video!
~The Pregnant Doula . Joei Gowing
If you want to know more about why I chose the things I did, check out the full video explaining my birth preferences here:
And do go check out my blog post from 2015, it has some great info and links to how to research your options/decide what preferences are right for your family :) https://thepregnantdoula.blogspot.ca/2015/06/28-weeks-my-birth-plan.html
Thanks so much for reading, happy Birth Wishes creating and follow along my Youtube Channel, I update there a lot more often with pregnancy updates, family vlogs, updates on my kids, mental health/doula stuff.
I will also be coming out with videos like Packing for Labour/Birth, My Hospital Bag, and How to Create a Comfortable Birth Space very soon as we prep for our little girl - and of course you'll want to see her in videos starting in October (I'm almost 32 weeks as I post this, so she will be here in the next 8-10 weeks)!!
So, love & happy gestating, see you in the next post/video!
~The Pregnant Doula . Joei Gowing

Comments
Post a Comment